-
60 Limmer Loop
Round Rock, TX 78665 - (512) 846-1956
-
Monday-Friday
7:00 AM - 6:00 PM - Ages: 8 weeks - 6 years
Request Information
Find out about pricing and availability
Cadence schools across the country are now enrolling for Summer Programs! Be sure to ask if your school is hosting summer camp or any summer programs for school aged children in 2024.
- Overview
- Programs
- Our Team
About Sunrise Montessori in Round Rock, TX
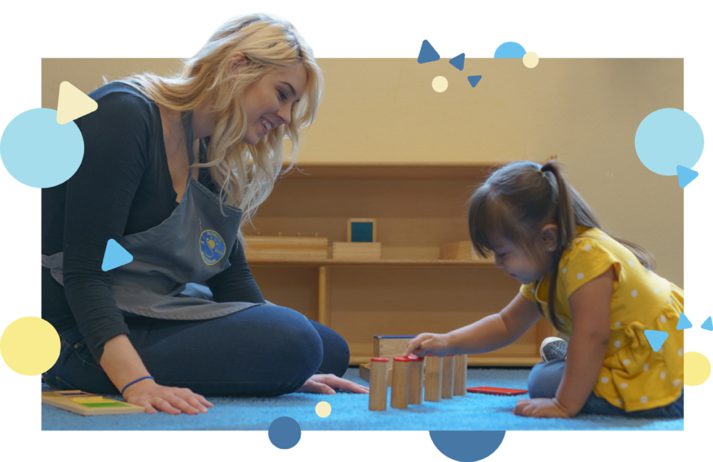
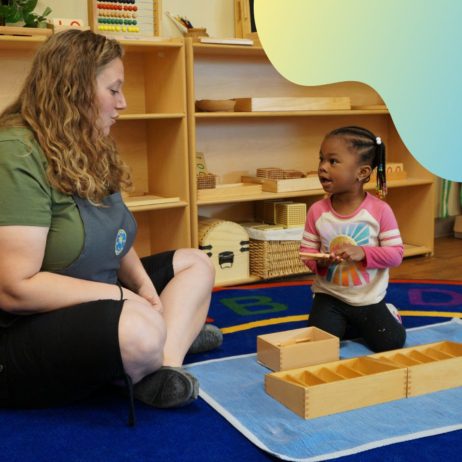
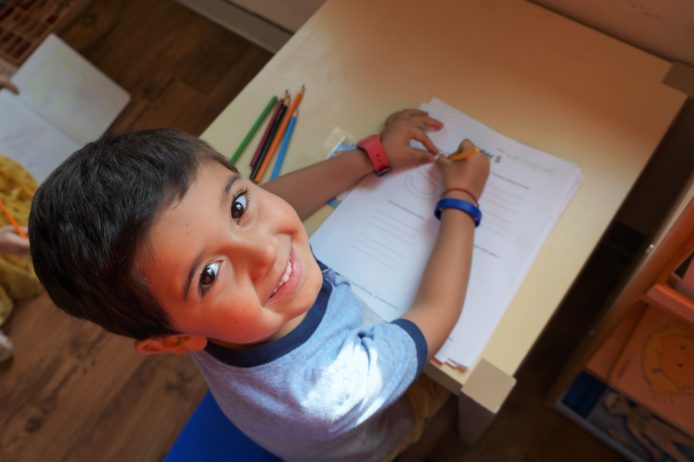
Sunrise is a Montessori school with a happy, confident, and credentialed team that teaches life and academic skills. At Sunrise Montessori, your child will feel safe, nurtured, and immersed in learning. Our Teachers make sure your child gains an excellent education in a caring environment.
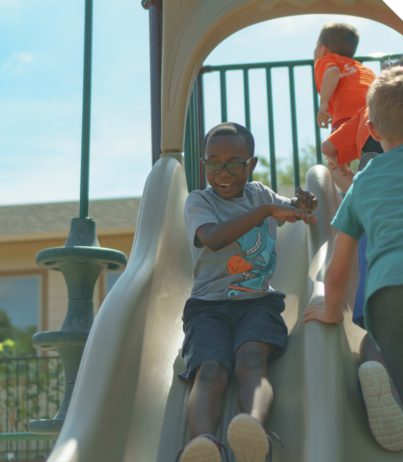
A POSITIVE & NURTURING ENVIRONMENT
Our trained, credentialed Teachers are always enthused to see your child. They love guiding students in exploration and learning. At Sunrise Montessori, we believe a positive, nurturing environment is necessary for education to flourish.
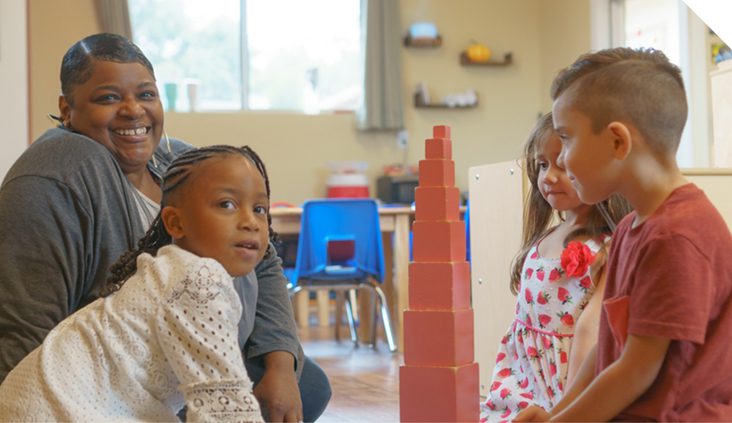
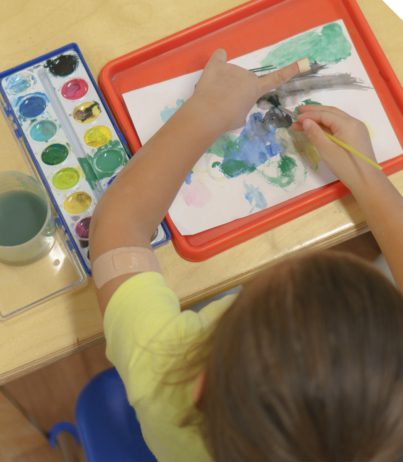
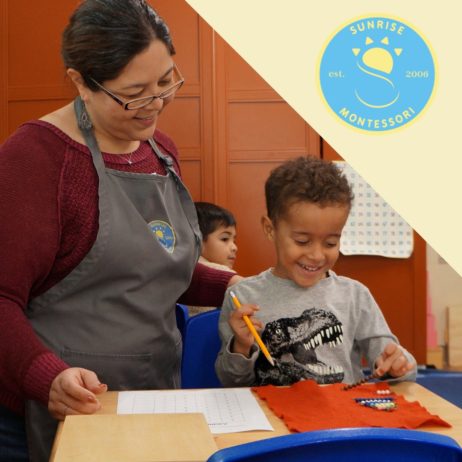
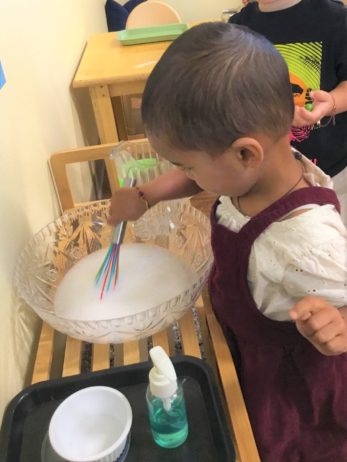
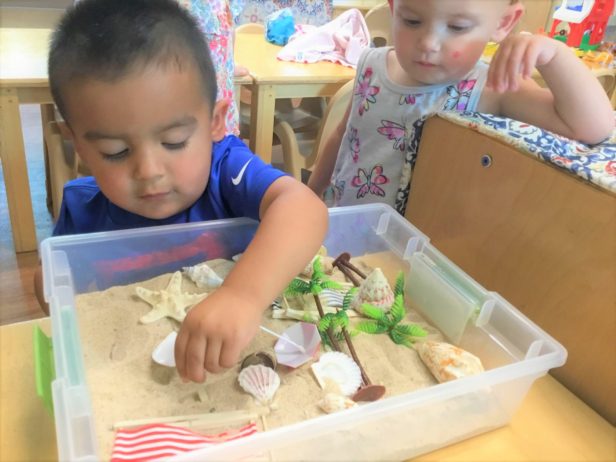
LEADING THROUGH DISCOVERY
Montessori is not a brand, but an educational method focused on self-directed exploration and learning through discovery. We believe that the Montessori method offers parents a better alternative to traditional preschool and daycare organizations. A Montessori education fulfills the engagement needs of children and prepares them for the future. Give your child the best preparation available for them to succeed and thrive in their education and in life.
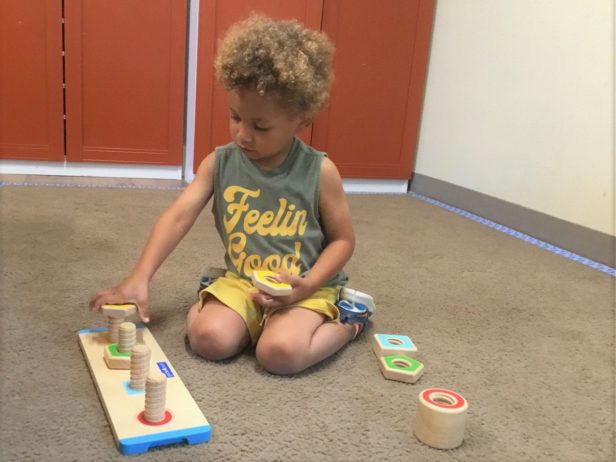
Our Montessori Programs
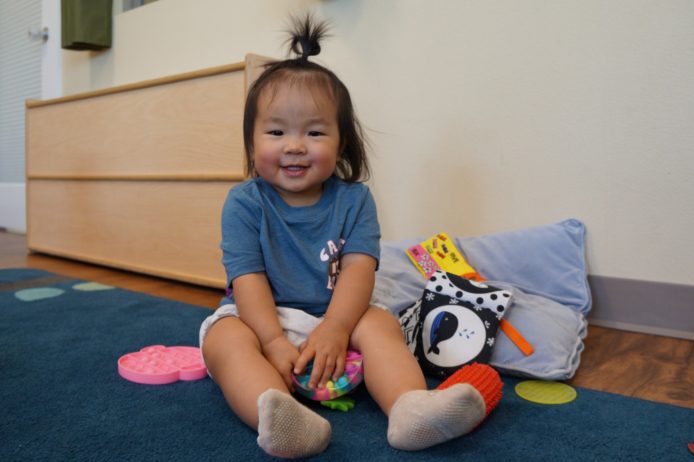
- NIDO LEVEL – Children 8 weeks to 9 months
- BAMBINI LEVEL – Children 9 to 18 months
- PRE-PRIMARY LEVEL – Children 18 months to 3 years old and wearing diapers
- PRIMARY LEVEL – Children who are 2.8 to 6 years old and toilet trained
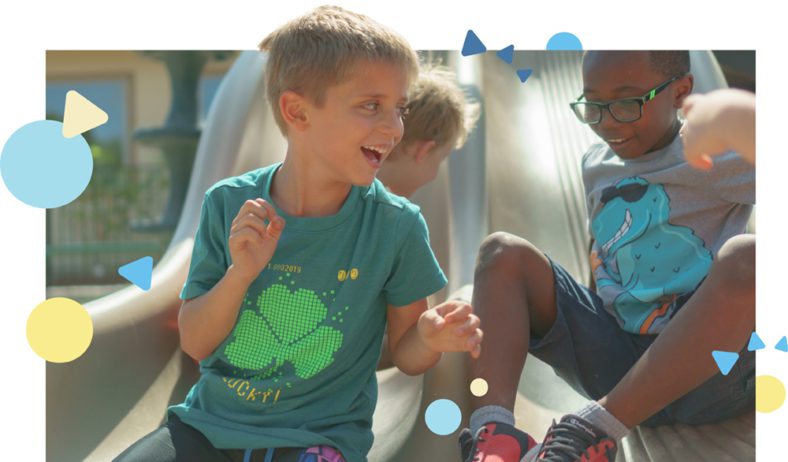
We Care & Help Each Other
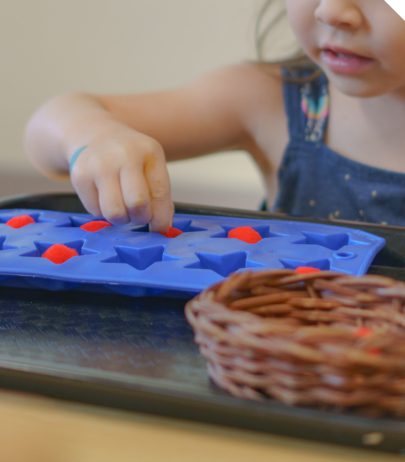
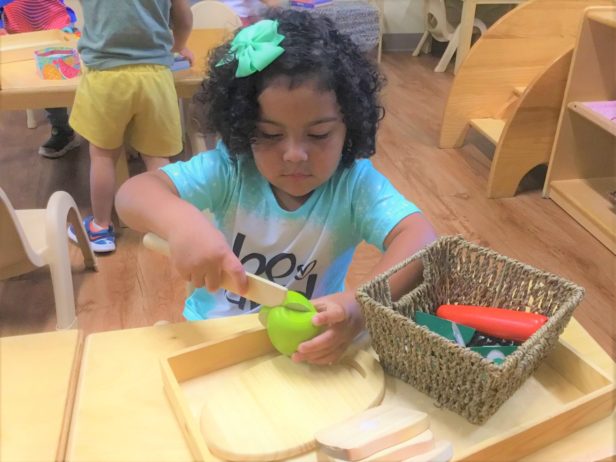
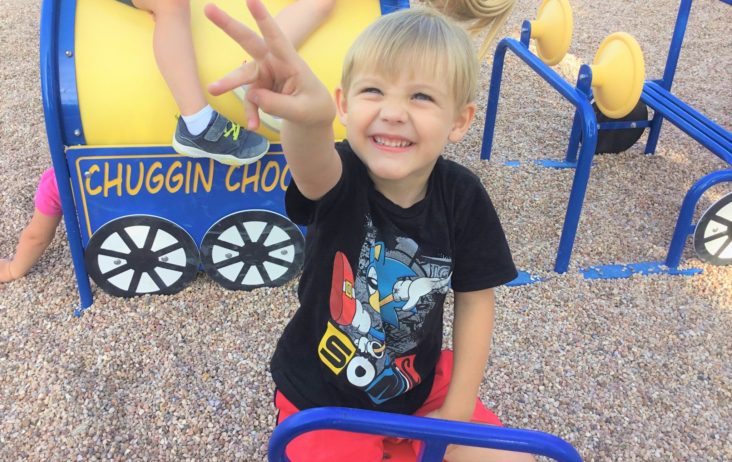
The atmosphere at Sunrise Montessori is like that of a family: we care for and help each other in a positive, reaffirming way. We encourage this characteristic because it extends the learning everywhere and with anyone. Education is not limited to a designated teacher or instructor, but primarily performed by the child themselves. This approach promotes learning to continue through the home, as well.
Our Staff is Family
At Sunrise Montessori, we believe that treating our team well will reflect in your child’s success and create an educational environment that allows them to thrive. We have higher pay, lower turnover, higher staff morale, and more credentialed teachers because we care about our Team Members like family. This family mindset extends from us to our Teachers to you and your child.
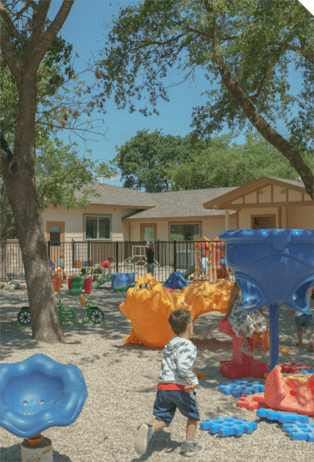
Our school is clean and tidy, allowing for creativity for our students to flourish. We would love for your child to experience growth and thrive in our Montessori environment.
Holidays
Sunrise Montessori loosely follows the Round Rock ISD holiday schedule.
Bad Weather Days
To determine if our school will be closed due to bad weather, check the Round Rock ISD website early the morning of the possible bad weather day. There will be a message at the top of their home page if the district is closing down.
Programs Offered
Our Team

Melissa Carrell
Assistant Director
I started working in early childhood education in 2014 working in a preschool while pursuing my degree for early childhood education. After graduating from ASU, I taught 4th grade math and science. After moving to the Austin area in 2022, I took a different route and worked for CPS. Even though that was one of the most difficult jobs I have ever had, I decided that I needed to work with children in a different way and this led me to Sunrise Montessori. During my time with Sunrise, I started out as a floater, then an Admin Assistant and now to Assistant Director.
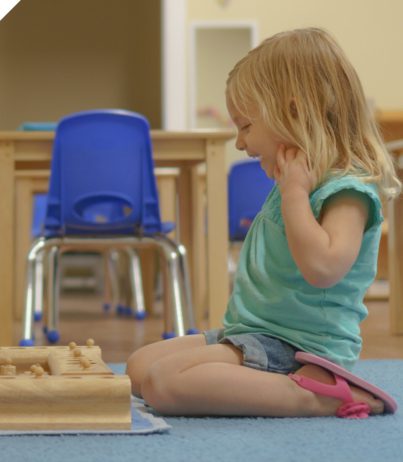
Early childhood education is rewarding for several reasons. First, it is a period of immense growth and development in a child’s life, and being part of that journey is incredibly rewarding. Witnessing the curiosity, wonder, and eagerness to learn in young children is inspiring. Early childhood education sets the foundation for a child’s future academic success and overall well-being. Being able to facilitate this growth and help shape a child’s future in a positive way is incredibly fulfilling. Since young children learn best through play and exploration, educators have the opportunity to design engaging and interactive learning experiences that cater to their developmental needs. The impact of early childhood education extends far beyond the classroom, influencing a child’s lifelong learning journey and contributing to their success and happiness in the future.
I like to cook, take walks with my dogs, travel and explore different states and cities.